Manage your Repositories
1. What You Will Learn
After finishing this guide you will understand how to manage repositories in the Workflow Executor App.
After finishing this guide you will understand how to manage repositories in the PAK Workflow Executor.
3. What is a Repository?
Generally there are three Repository types
-
Repositories represent a collection of commands
-
Workflow Repositories represent a collection of workflows
-
Command & Workflow Repositories represent a collection of commands, workflows or both
A Repository can be added to the PAK Workflow Executor in order to enable the application to automatically fetch available commands and workflows.
You can learn more about how to create your own repository on nexus here.
4. Managing Your Repositories
To open the Repository dialog navigate to ☰ > Repositories as seen below:

This Dialog is used for managing your repositories.
Adding a Nexus/Artifactory repository or an OpenAPI endpoint works by simply clicking on one of the provided buttons in the upper section of the window. The displaying dialog will take all the information needed in order to add the repository. Once all the needed information is provided the repository can be added by clicking the „Add“ button.
| If you don’t know what a proxy is then this guide will provide further information about proxies and how to set them in the application. |
A repository can store individual commands needed to run a workflow, or it can hold entire workflows that can be easily pulled from the repository and executed without any additional setup.
More about pulling workflows can be found here.
To select your wished content type, click on the drop down menu and choose the desired content type. The content type can be altered later, if wished so.
As default Commands will be selected.
|
4.1. Add a Proxy for a Command Repository
| If you don’t know what a proxy is then this Guide will provide further information about proxies and how to set them in the app. |
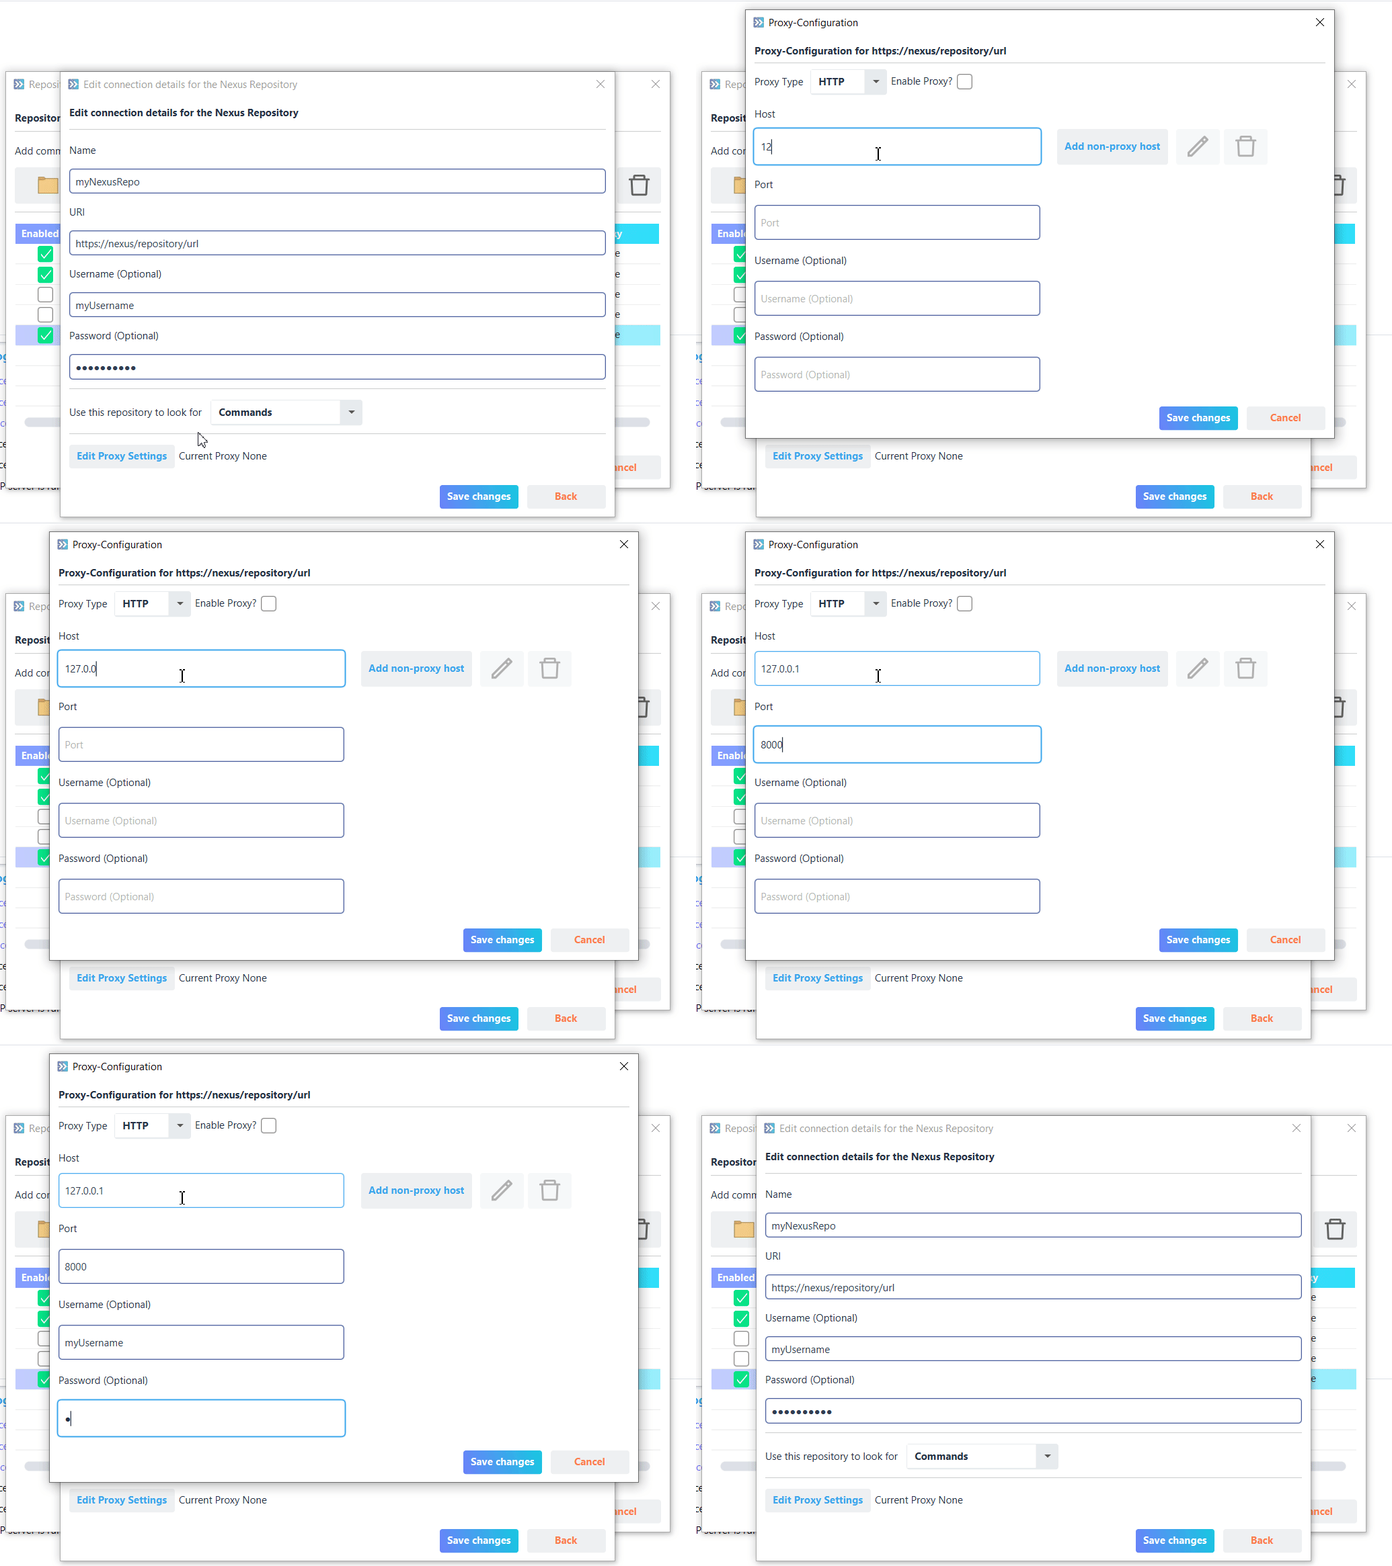
If needed there can be a proxy set for any Repository, this can be done when creating the Repository for the first time, or later on when editing the Repository.
To add a proxy click the ‚Edit Proxy Settings‘ button, by doing so you will be prompted with a new dialog where the proxy can be set, how to configure a proxy can be seen here.

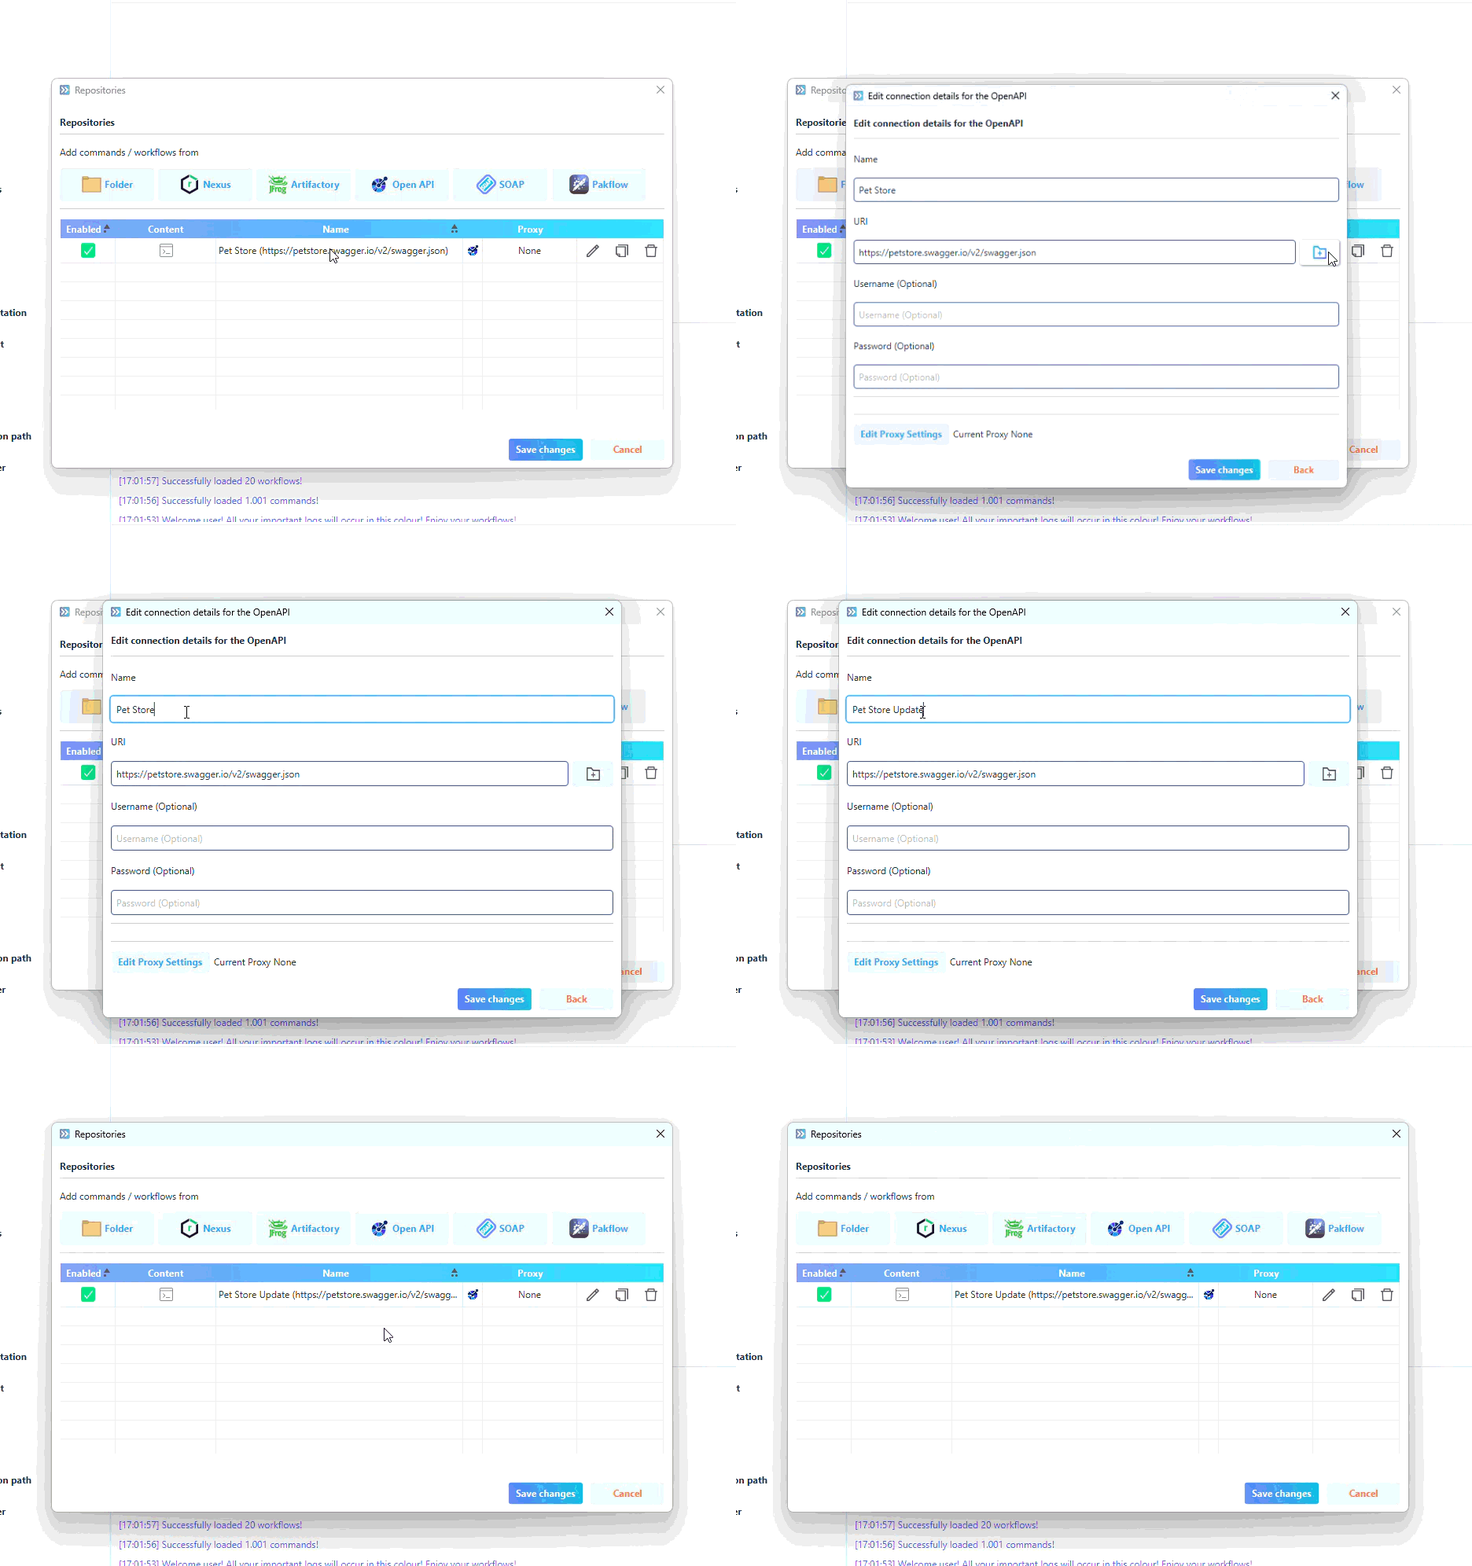
4.2. Editing a Repository
Editing of a Repository works by simply double clicking the desired Repository or by selecting the Repository and clicking the edit button of the entry

5. Managing Workflows
For more information on how to download remote workflows, refer to this guide!